How to Download and Install Git on Windows 11
Git is a popular version control system used by developers to manage their code. In this guide, we will show you the easiest way to download and install Git on a Windows 11 operating system.

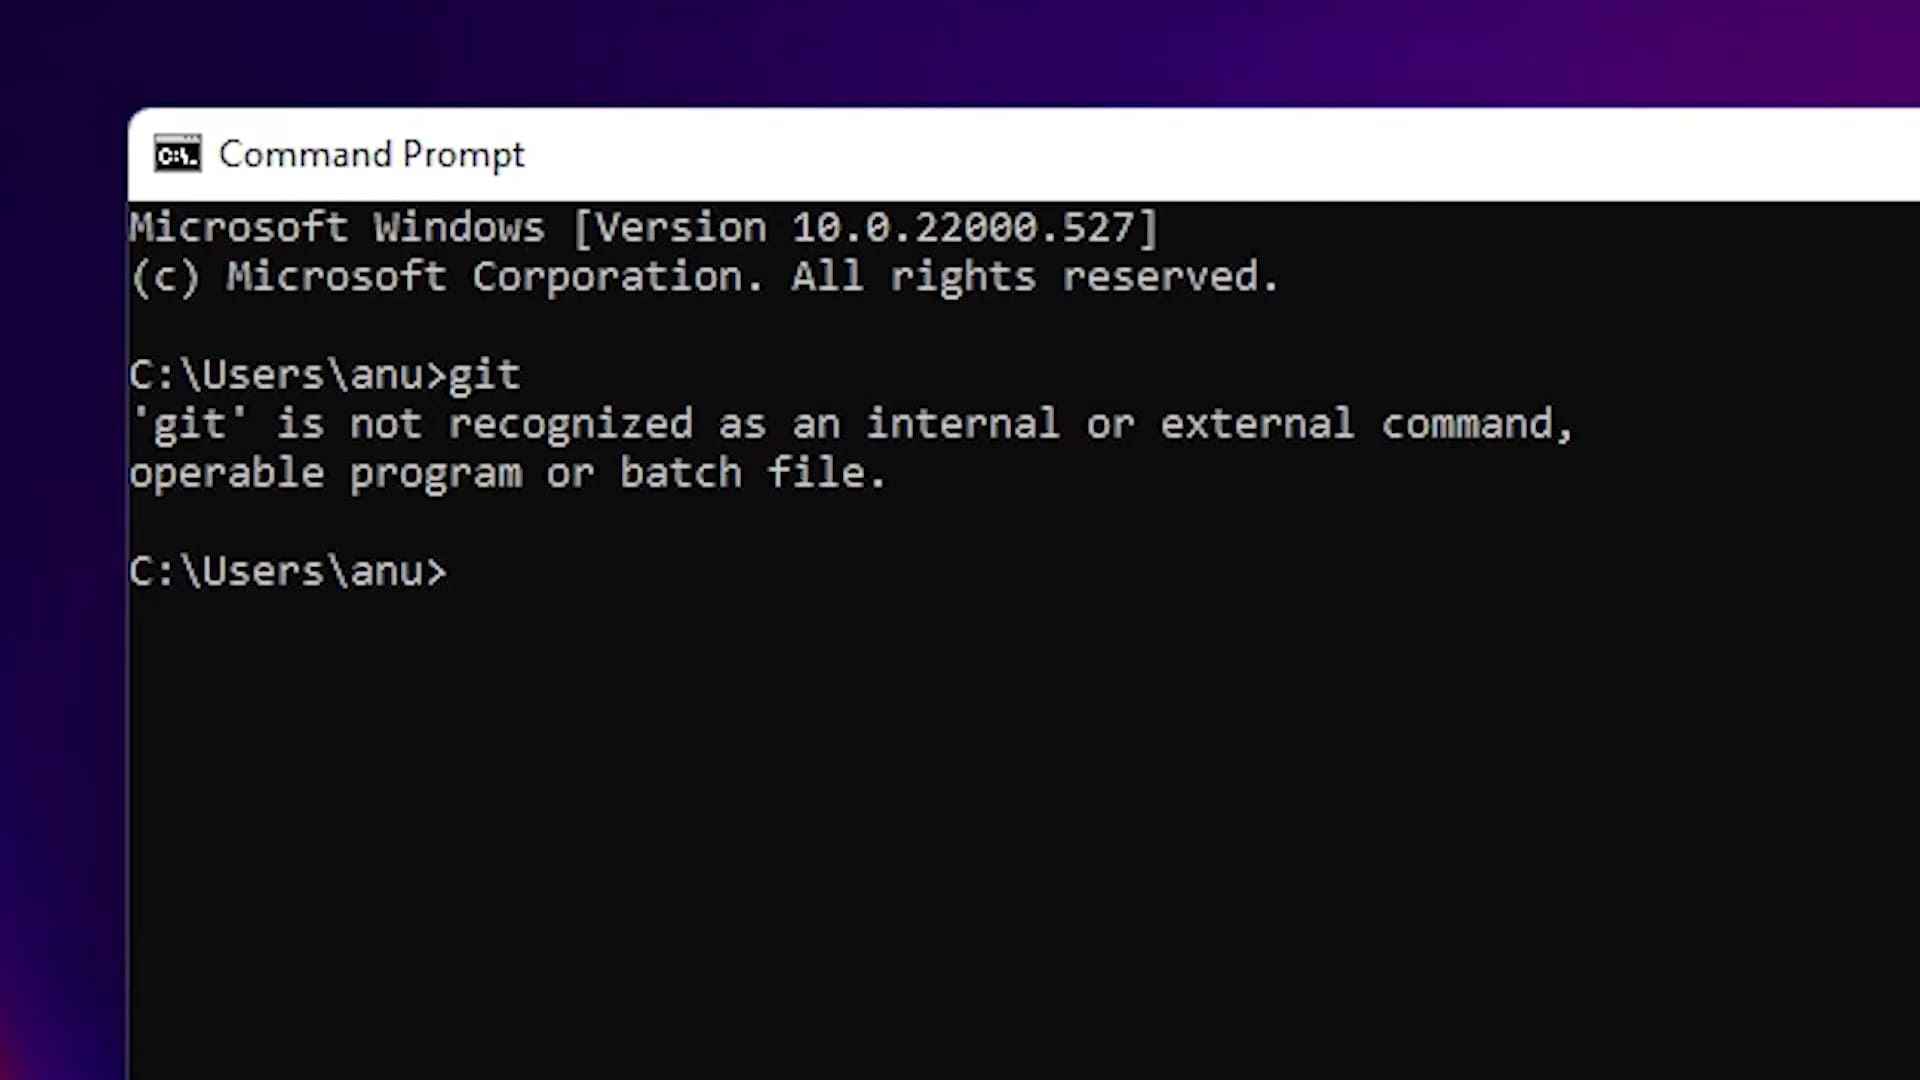
1. Check if Git is already installed by typing "cmd" in the start menu and clicking on the Command Prompt option. Once the command prompt is open, type "git" and hit enter. If Git is not installed, proceed to step 2.
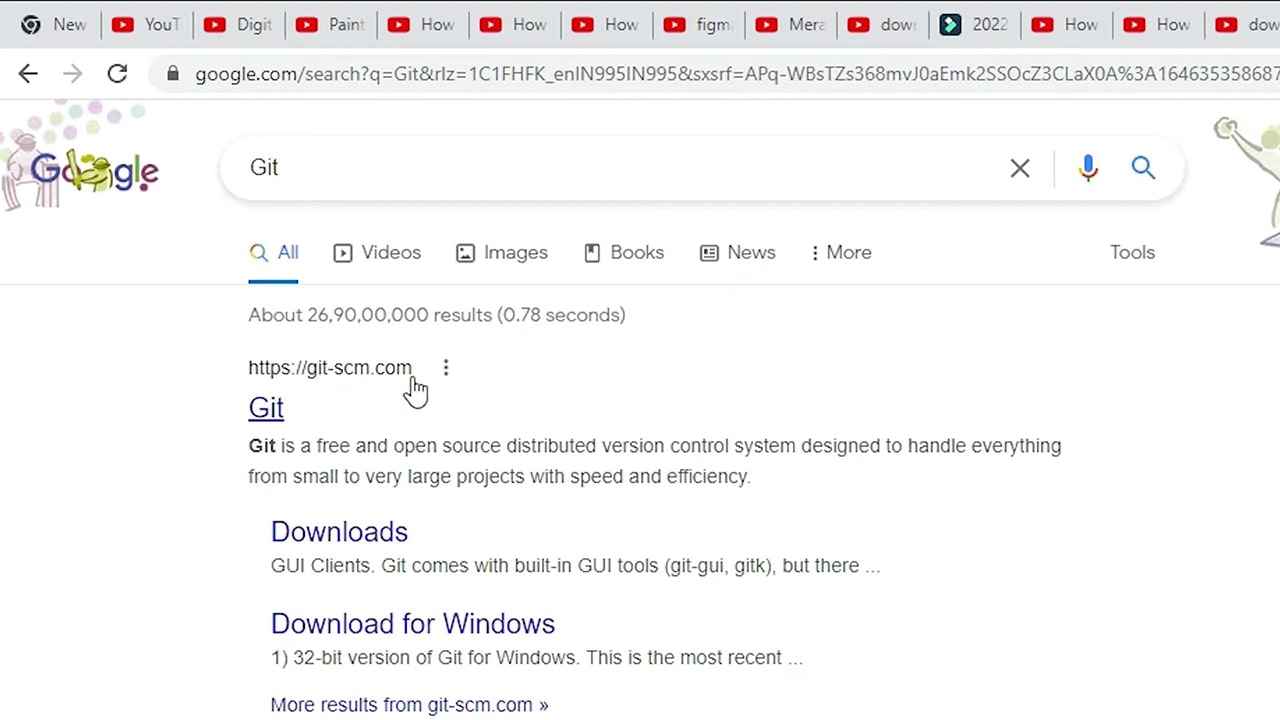
2. Open any web browser and search for Git. Click on the first link from git-scm.com, which is the official website of Git.
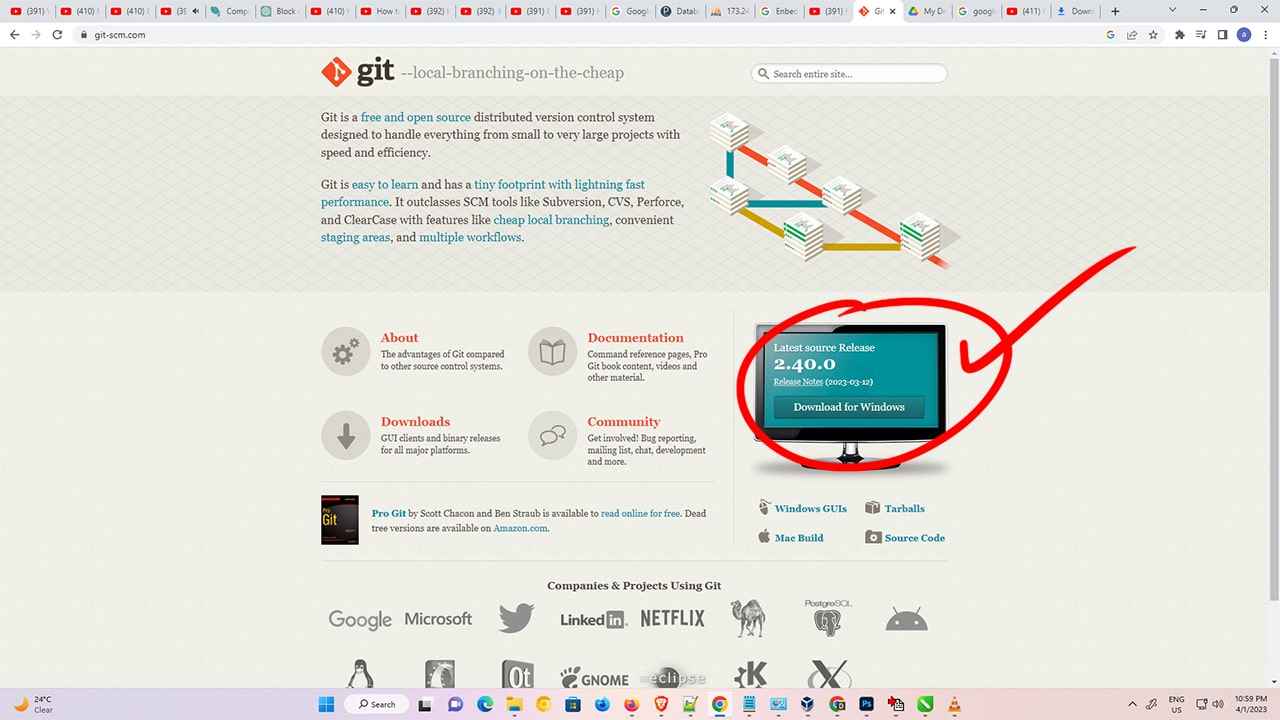
3. Once you are on the Git website, look for the latest version of Git. At the time of writing, the latest version is 2.40.0 Click on the "Download" button to proceed.
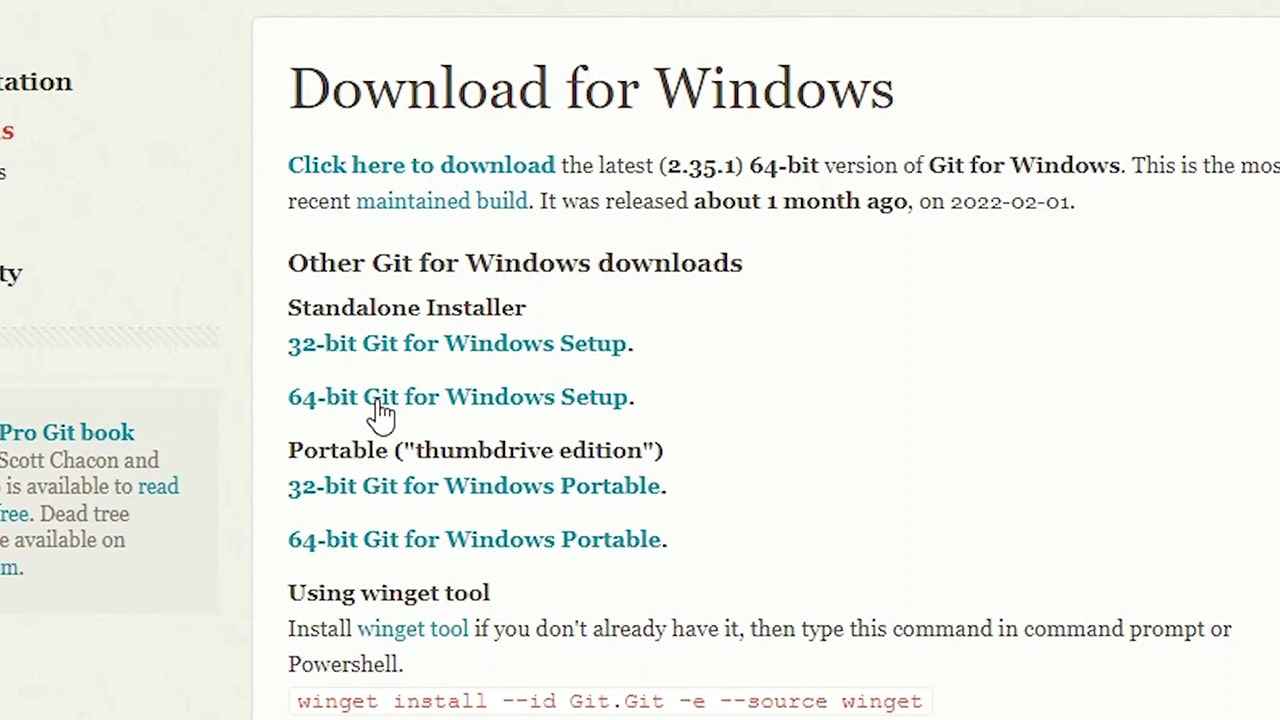
4. On the next page, you will see two options: "Standalone Installer" and "Portable". Choose "Standalone Installer". choose the appropriate version for your operating system. If you are using Windows 11, select the 64-bit version. If you are using Windows 7 or 10, check your system's bit and select either 32-bit or 64-bit accordingly.
5. Once you have selected the appropriate version, click on the download button. The download will start, and it may take some time depending on the speed of your internet connection.
6. After the download is complete, open the folder where the Git setup file is located. Drag the setup file to your desktop.
7. Double-click on the setup file and click "Yes" when prompted.

8. Just click on next next on All Optios, Use the default settings Last we find install Click on install.
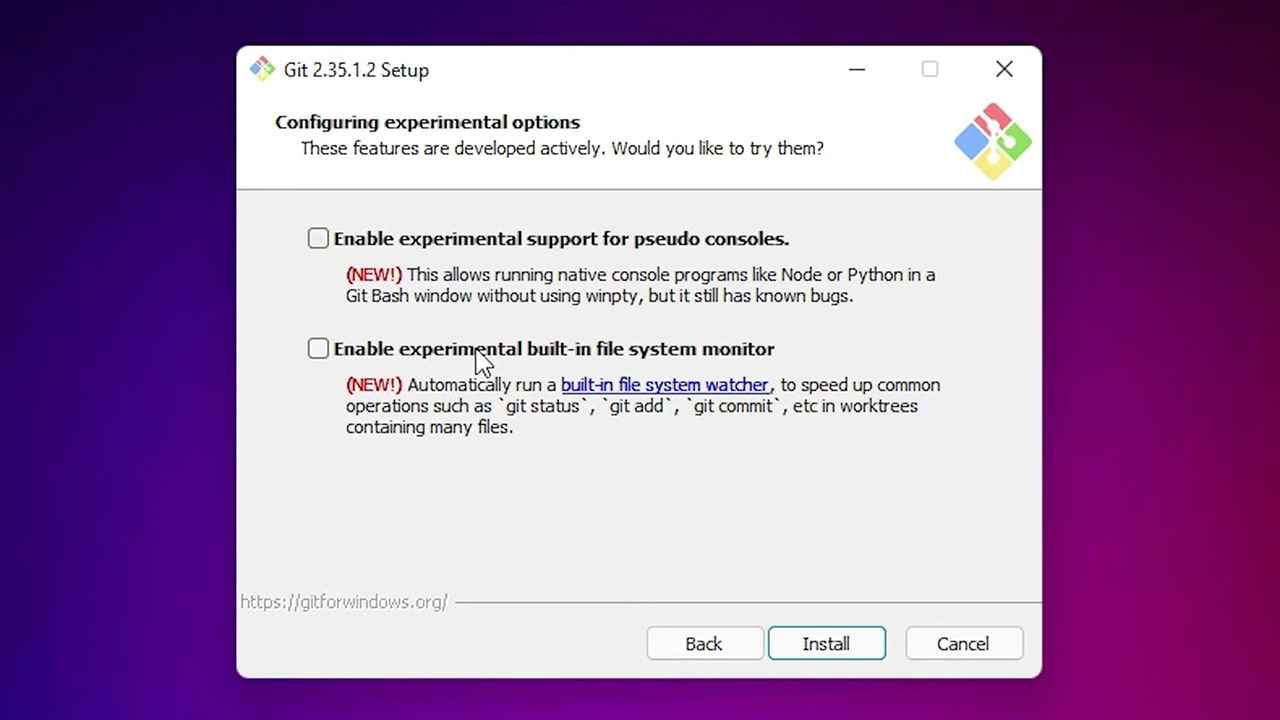
9. Once the installation is complete, open the Command Prompt again and type "git". You should now see all the files related to Git. This confirms that Git has been successfully installed on your Windows 11 operating system.
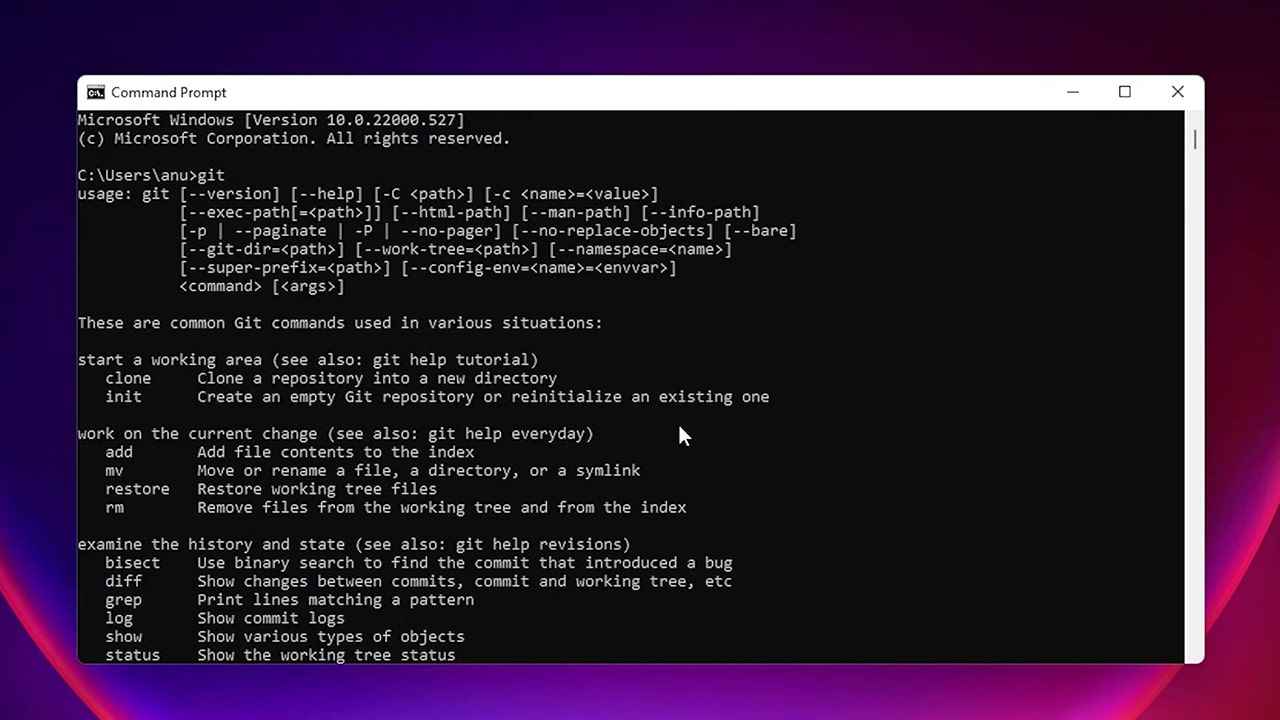
Congratulations! You have now successfully downloaded and installed Git on your Windows 11 operating system.
Windows 11, coding, Programming Knowledge
 Programming Knowledge
Top


