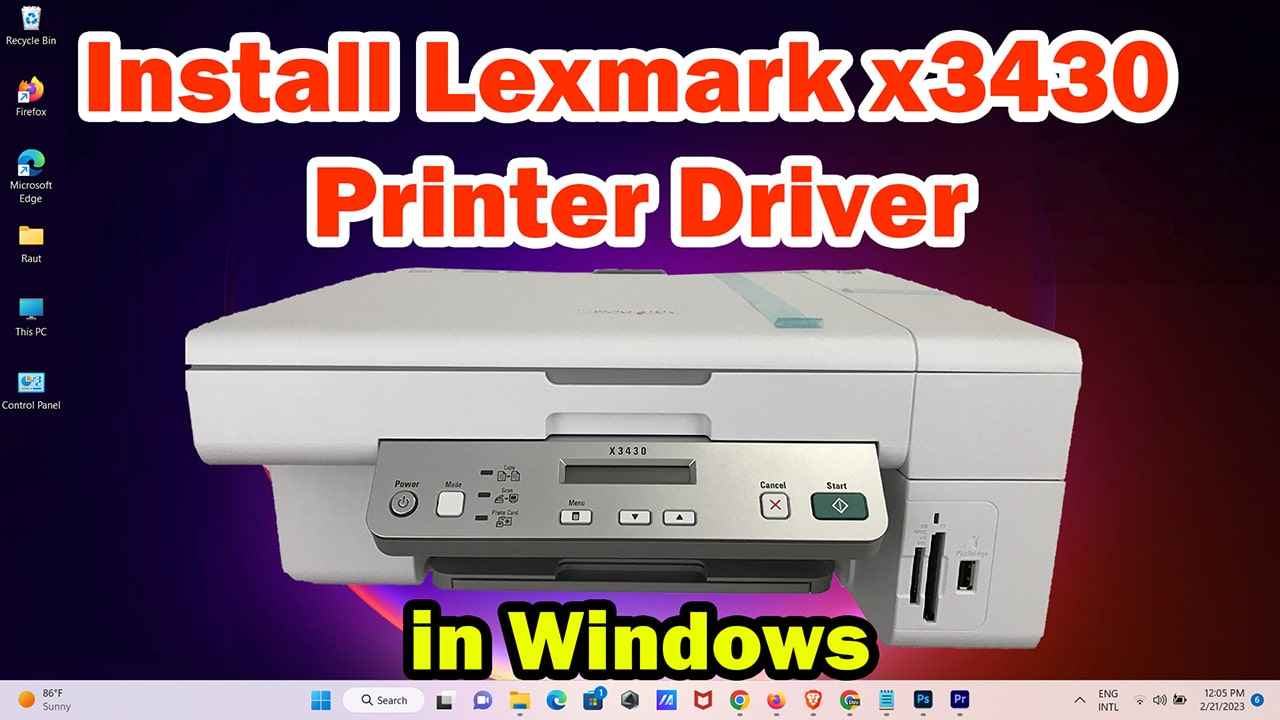
How to Download & Install Lexmark x3430 Printer Basic Driver in Windows PC or Laptop
Lexmark x3430 is a budget-friendly all-in-one printer designed for home and small office use. If you have recently purchased this printer and want to install its basic driver on your Windows computer, then this article is for you. Here's a step-by-step guide on how to install Lexmark x3430 printer basic driver in Windows.

Step 1: Check Compatibility Before you proceed with the installation, it's essential to ensure that your computer meets the minimum requirements for the printer driver installation. The Lexmark x3430 printer driver is compatible with Windows 7, 8, 8.1, 10 and 11 (32-bit and 64-bit versions). Make sure that your Windows operating system is up-to-date with the latest updates.
Step 2: Download Driver
Google Drive link for Printer Driver
Printer Driver 32 bit Download Printer Driver 64 bit Download
mega link for Printer Driver
Printer Driver 32 bit Download Printer Driver 64 bit Download
Scanner Basic Driver
mega link for Scanner Driver
Scanner Driver 32 bit Download Scanner Driver 64 bit Download
Google Drive link for Scanner Driver
Scanner Driver32 bit Download Scanner Driver 64 bit Download
or
Download Driver To download the basic driver for your Lexmark x3430 printer, visit the official Lexmark website. On the homepage, click on the "Drivers & Downloads" tab, and then select "Printers" from the drop-down menu. Type "Lexmark x3430" in the search box, and click on the "Search" button. Select the operating system that you are using and click on "Download." Save the driver setup file to your computer.
Step 3: To install the Lexmark x3430 driver in Windows 10, Windows 11, follow these steps:
- Download the Lexmark x3430 basic driver pack from the download section. Make sure to select the driver that corresponds to your operating system version.
- Once the download is complete, right-click on the downloaded zip file and select "Extract to" to unzip it.
- Open the extracted folder and copy the path from the address bar.
- Right-click on the Start menu and select "Settings."
- Click on "Devices" and then select "Printers & Scanners" from the left-side pane.
- Click on the "Add a printer or scanner" plus icon from the right-side pane to add the printer manually.
- If the computer failed to search the printer automatically, click on "The printer that I want isn't listed." This will open the "Add a printer" wizard.
- Choose the option "Add a local printer or network printer with manual settings."
- Click on the down arrow of the "Use existing port" option and select the port where your printer is connected. The options available are "USB001," "USB002," or "Dot4_001."
- Click on the "Next" button.
- Click on the "Have Disk" button.
- Remove all the text from the "Copy manufacturer's file from" field, right-click on the field, and select "paste."
- Click on the "OK" button.
- A list of drivers will appear. Choose the driver that corresponds to your printer model number.
- Click on the "Next" button.
- If the installation wizard asks, choose the option "Replace the driver." Otherwise, skip this step.
- Click on the "Next" button again. Here, it will ask for the printer name.
- Click on the "Next" button once more. It will start installing.
- Click on the "Next" button again. Here, it will ask whether to share the printer on the network. Choose the option according to your preference.
- Finally, click on the "Finish" button. After clicking on the "Finish" button, your printer will be installed manually.
OR
Install Driver Once you have downloaded the driver setup file, locate it on your computer and double-click on it. This will launch the installation wizard. Follow the on-screen instructions to install the basic driver for your Lexmark x3430 printer. During the installation process, you may be asked to connect your printer to the computer. If so, make sure to connect it via USB cable.
Step 4: Finish Installation After the installation is complete, you will be prompted to restart your computer. Restart your computer to finalize the installation process. Once your computer has restarted, your Lexmark x3430 printer basic driver will be ready to use.
Step 5: Test Print To test if the installation was successful, try printing a test page. Go to the "Devices and Printers" section of your Windows control panel and locate your Lexmark x3430 printer. Right-click on it and select "Printer Properties." Click on the "Print Test Page" button, and your printer should start printing a test page.
Conclusion Installing the basic driver for your Lexmark x3430 printer is a simple process that can be completed in a few minutes. By following the steps outlined above, you should be able to install the driver with ease and start using your printer immediately. If you encounter any issues during the installation process, refer to the user manual or contact Lexmark support for assistance.
features
The Lexmark x3430 is an all-in-one printer that is designed for home and small office use. Here are some of its notable features:
1. Printing, Copying, and Scanning: The Lexmark x3430 can print, copy, and scan documents. It uses inkjet printing technology to produce high-quality prints.
2. Print Speed: This printer can print up to 17 pages per minute (ppm) for black and white documents and up to 9 ppm for color documents.
3. Print Resolution: The Lexmark x3430 has a print resolution of up to 4800 x 1200 dots per inch (dpi), which ensures that the text and images on your documents are sharp and clear.
4. Copying: The printer also comes with a built-in flatbed scanner that can scan documents up to 8.5 x 11.7 inches in size. You can use this scanner to make copies of documents, and the printer can make up to 9 copies per minute.
5. Borderless Printing: The Lexmark x3430 supports borderless printing, which means you can print photos and other documents without any borders.
6. Compact Design: The printer has a compact design, which makes it easy to fit on a desk or shelf. It measures 17.6 x 12.1 x 6.4 inches (W x D x H) and weighs 8.8 pounds.
7. Energy Efficiency: The Lexmark x3430 is an energy-efficient printer that is ENERGY STAR certified. It also has an automatic power-off feature that helps save energy.
8. Connectivity: The printer can be connected to your computer using a USB cable, and it is compatible with Windows and Mac operating systems.
9. Ink Cartridges: The Lexmark x3430 uses two ink cartridges, one for black ink and the other for color ink. The cartridges are easy to install and replace, and they are available in both standard and high-yield sizes.
In summary, the Lexmark x3430 is a versatile all-in-one printer that is suitable for home and small office use. Its features, including high-quality printing, copying, scanning, energy efficiency, and compact design, make it an excellent choice for those who need a reliable and efficient printer.
Windows, Windows 10, Windows 11, Free Printer Support, Pdf Programming Knowledge
Top


